Last time On The Desk we started off a new project, painting an
Eldar Wraithguard. Check out part 1 here where I talk about creating
a rich red with contrasting cooler shadows, and considering the
global lighting situation of the model when placing them.
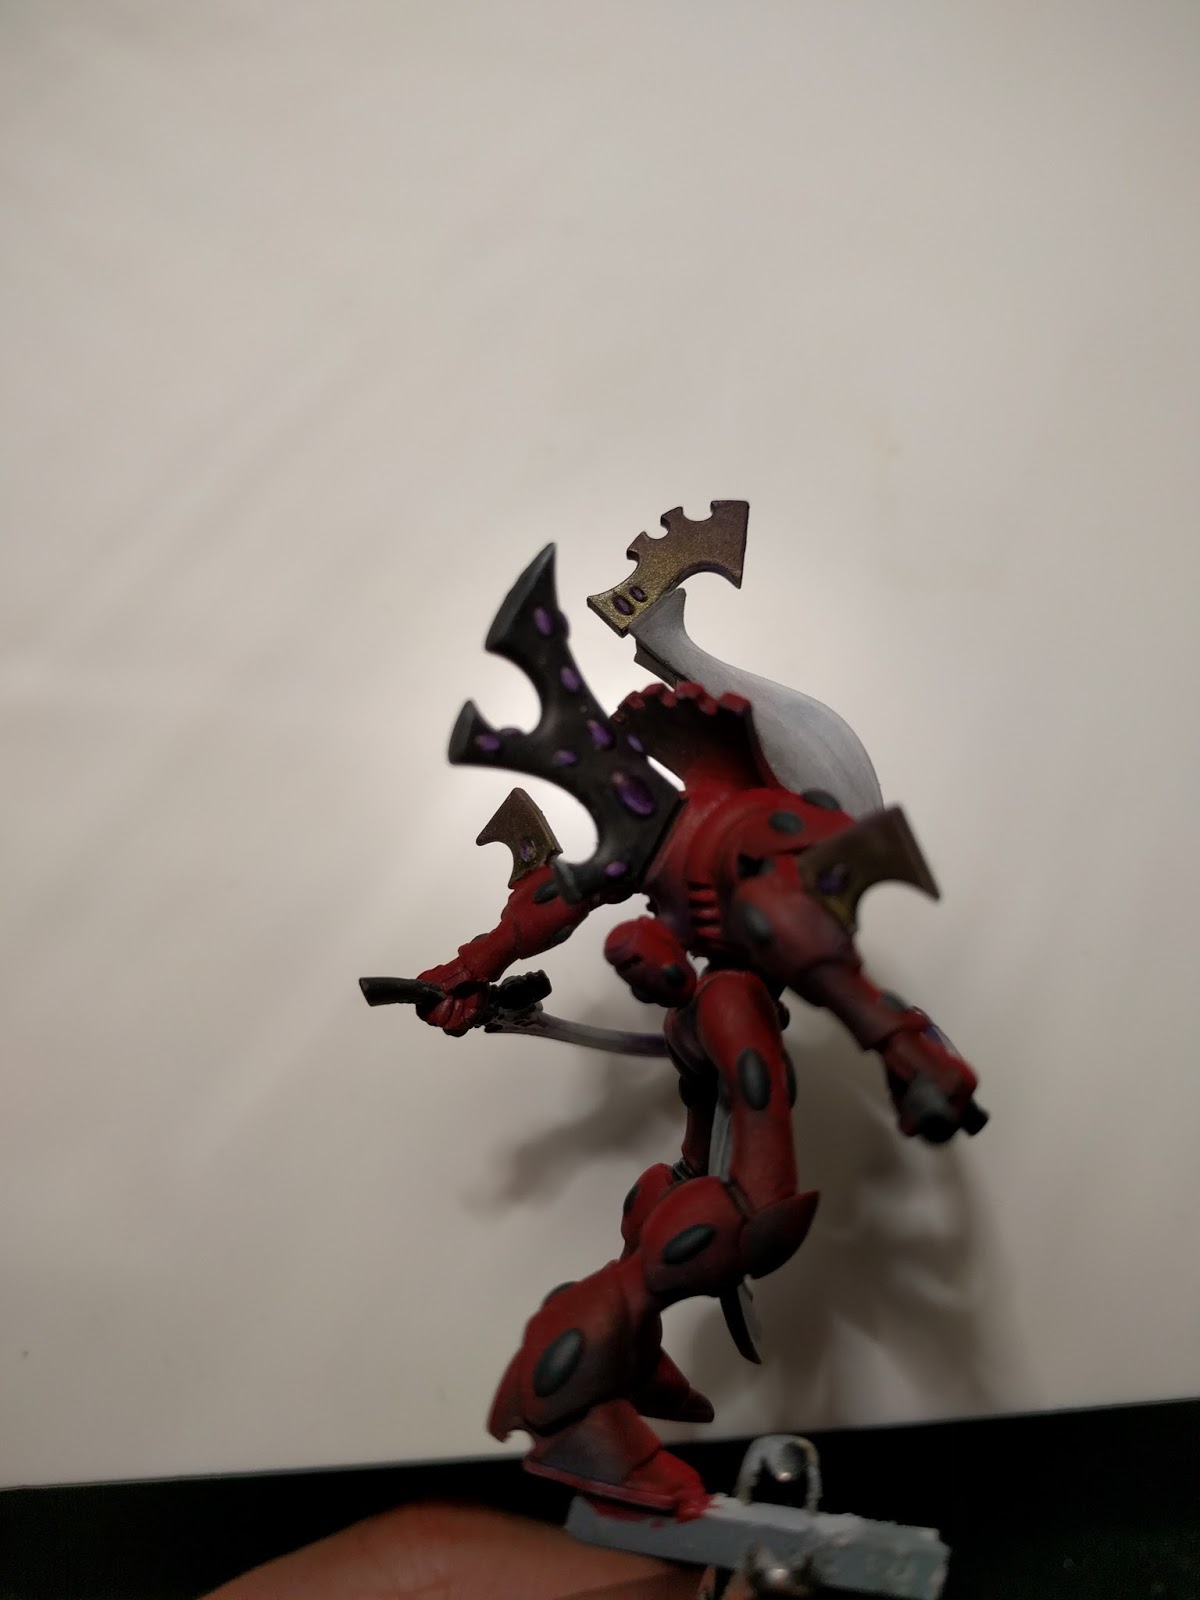
Let's talk about swords. I didn't really have a firm idea of what I
wanted to do with the swords when I started the project, a number of
different options were running through my head, plain silver, a
contrasting colour like green or a colour NMM effect like a power
sword. I decided to go with silver and some colour glazes to make it
look a little 'alien'. Silvers are from the S75 range, Heavy and
Speed metal.
Then things go craaaaazy, I used some watered down GW Naggaroth Night
and glazed towards the area I wanted the colour to be strongest. This
wasn't really a consideration of lighting, just a visual effect I
wanted. I also glazed some of the purple into the gold metals to tie
it together. The sword needs to be tidied up a little still.
Now comes an aspect that is very important when it comes to painting
Eldar...gemstones. In case you haven't noticed, Eldar are covered
with them! Especially the wraith units. I intended to leave most of
the model's gems red as part of the armour, I kind of feel that
painting them all can kind of make them look like a Christmas tree. I
was convinced after some discussion with some fellow enthusiasts to
give it a shot though. I decided to paint the gems on the back vane
but in the end just went with it and did them all.
There are 78 gems on this Wraithguard.
Ouch.
Oh well, nothing good comes without work. Starting with the back
vane, I decided to do purple gems to tie in with the swords. I
started off basing the gems with a very dark black/purple mix. I want
the gems to be quite subtle so they'll be fairly dark. From then it's
just a case of glazing in progressively lighter shades of purple
(first by adding more purple then white) along smaller sections of
the gem away from the global light (as the lighter areas represent
the light coming out of the gem) I also used some watered down
Inktense Violet ink from Scale 75 to blend the highlights together.
The final step is putting a small white reflex light on the opposite
side, which I haven't done yet in these shots.
And because I'm crazy I then did the rest of them, I decided to do
these ones a dark green, it's a complimentary colour for red so it's
a good choice. I have to be a little cautious about introducing too
many colours to the model but again they'll be quite dark. Once again
based in a dark black/green mix (I actually used GW Kabalite Green
which is quite a col, blue-y green) Same as the purple gems I just
worked it lighter and lighter by adding first more Kabalite green
then eventually white to the mix for the final layers. A glaze of
Inktense Green finished it. Again I haven't done the reflex light
spots yet.
I still have a couple more gems to do (the ones on the sword, tabard
and helm) but at this point I was gemmed out! After that I need to
neaten up the sword and tabard and consider if I want any
freehands/transfers anywhere. Then I need to think about a base!
Look out for Part 3 coming soon, let me know what you think in the
comments (I'd be particularly interested to know what people think
about the painting every/some/no gems on Eldar models!)